
If price, size and speed are scanner considerations, you might want to check out Plustek ePhoto Z300 scanner. Testing it out, I was impressed with both its speed and the quality of its scans. The feature list appeared very attractive so I was eager to try it out. My initial impressions were a little funky however, so let’s get right into it.

Load the software before connecting the scanner
This first issue should have been easier. Using the CD proved to be impossible. Yes, I do have a CD drive on my desktop machine, but despite repeated attempts, it would not read the CD provided in the package.
I worked around it, and for those of you who don’t even have a CD drive, go to http://plustek.com/us/products/film_photo_scanners/ephoto_z300/support.php and download the appropriate Windows or Mac file. Unzip that file and run the setup file. Here’s where the fun started. First I got a warning message:

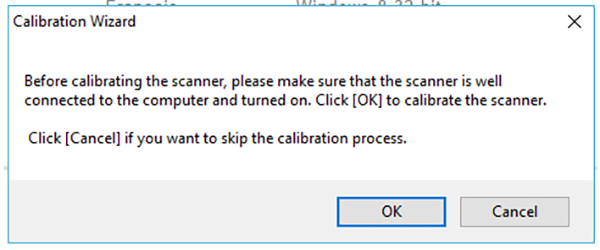
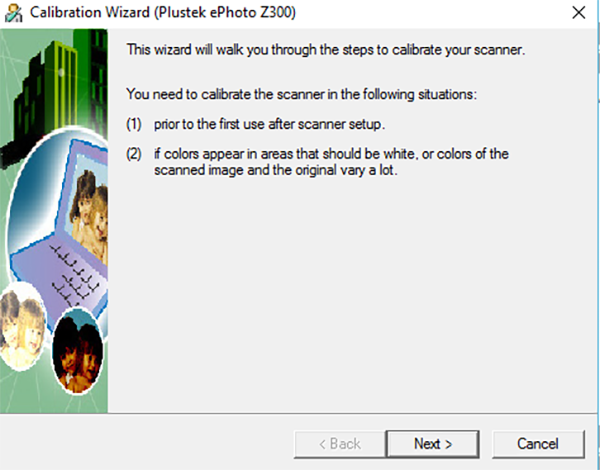
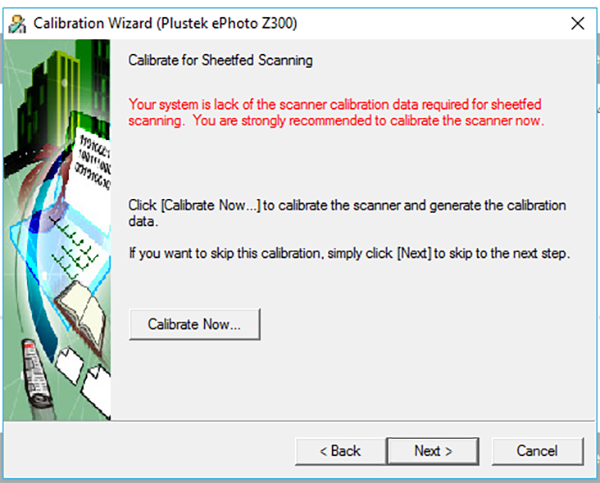
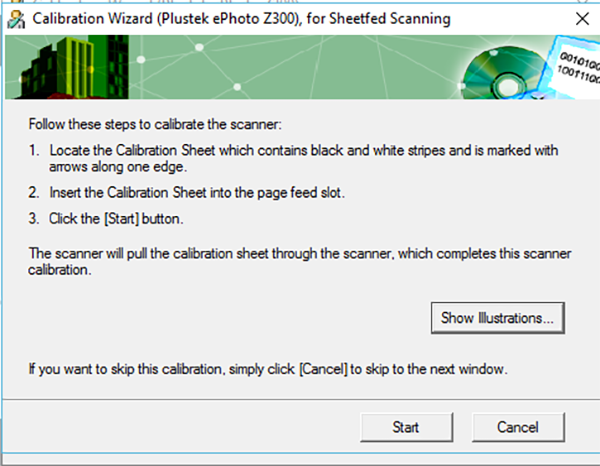
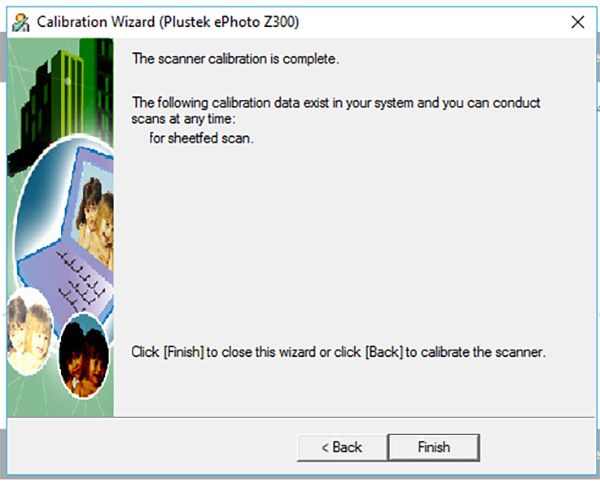
Hmmm. I hadn’t even attached the scanner, so I assumed I needn’t worry. Attaching and powering up the scanner, I then had to repeatedly click through screen after screen to calibrate the scanner.
Phew, now we can scan
Finally, I was ready to scan. Sending four documents through, one at a time, I then went looking for the scanned files. I could see the thumbnails of the scanned images but couldn’t find the files anywhere. They just weren’t there – nowhere to be found???

Then I realized I needed to first click the diskette icon in the upper left to save the files to my hard drive.
Pulling down on the triangle to the right of the diskette, I could select the file type I wanted them saved to, (JPEG, PDF, BMP, TIFF or PNG) but they would all be saved to the same type format. If you want a couple in one format and a couple others in another format, you best scan them and save them separately. When you hit save, they all get saved as the same format and disappear from the interface.
The Z300’s software enables you to perform all sorts of editing to your scans, but once you save the image, it disappears from the scanning application. That’s problematic in my view.

If I wanted to save a scan as a color file, and also save a version as a greyscale image, I’d have to rescan it for the second format. A “Save As” option would sure be handy.
But, there definitely is a bright side
On the plus side, the scanner is inexpensive, small and does a good job at scanning photos.
If you are looking for a photo scanner, and you don’t mind feeding your photos one at a time, the machine is available on Amazon for just $199.
If you have limited space, this is perfect. Look how much smaller the Plustek ePhoto Z300 is than my previous Epson Workforce 7520. The Epson also prints, but it takes up a ton of room on a desktop. Unfair comparison – maybe; but, the Z300 is definitely sleek and slim.

Scanning, which is its primary purpose, works extremely well. Full-size sheets scanned in about five seconds and smaller photos and cards went through in much less time.
I tried scanning photos, greeting cards, business cards, a thick plastic driver’s license, credit cards, and thin paper receipts. All went through quickly and effortlessly. The software does an admirable job of sensing the edges and aligning the image vertically before it crops the resulting scan.

Quality of the scans were every bit as good as my more expensive and much bigger Epson flatbed scanner. The only thing I missed was the option to scan at more than one resolution. The Z300 scans everything at 300 d.p.i. and the resolution option is greyed out, so it doesn’t appear that it can be changed. That’s unfortunate.

So, take a look. If you want a quick, small scanner, the Plustek ePhoto Z300 is worth considering. It’ll work great once you get past the installation issues.
Disclosure: Plustek provided the sample ePhoto Z300 scanner for us to do this review.